
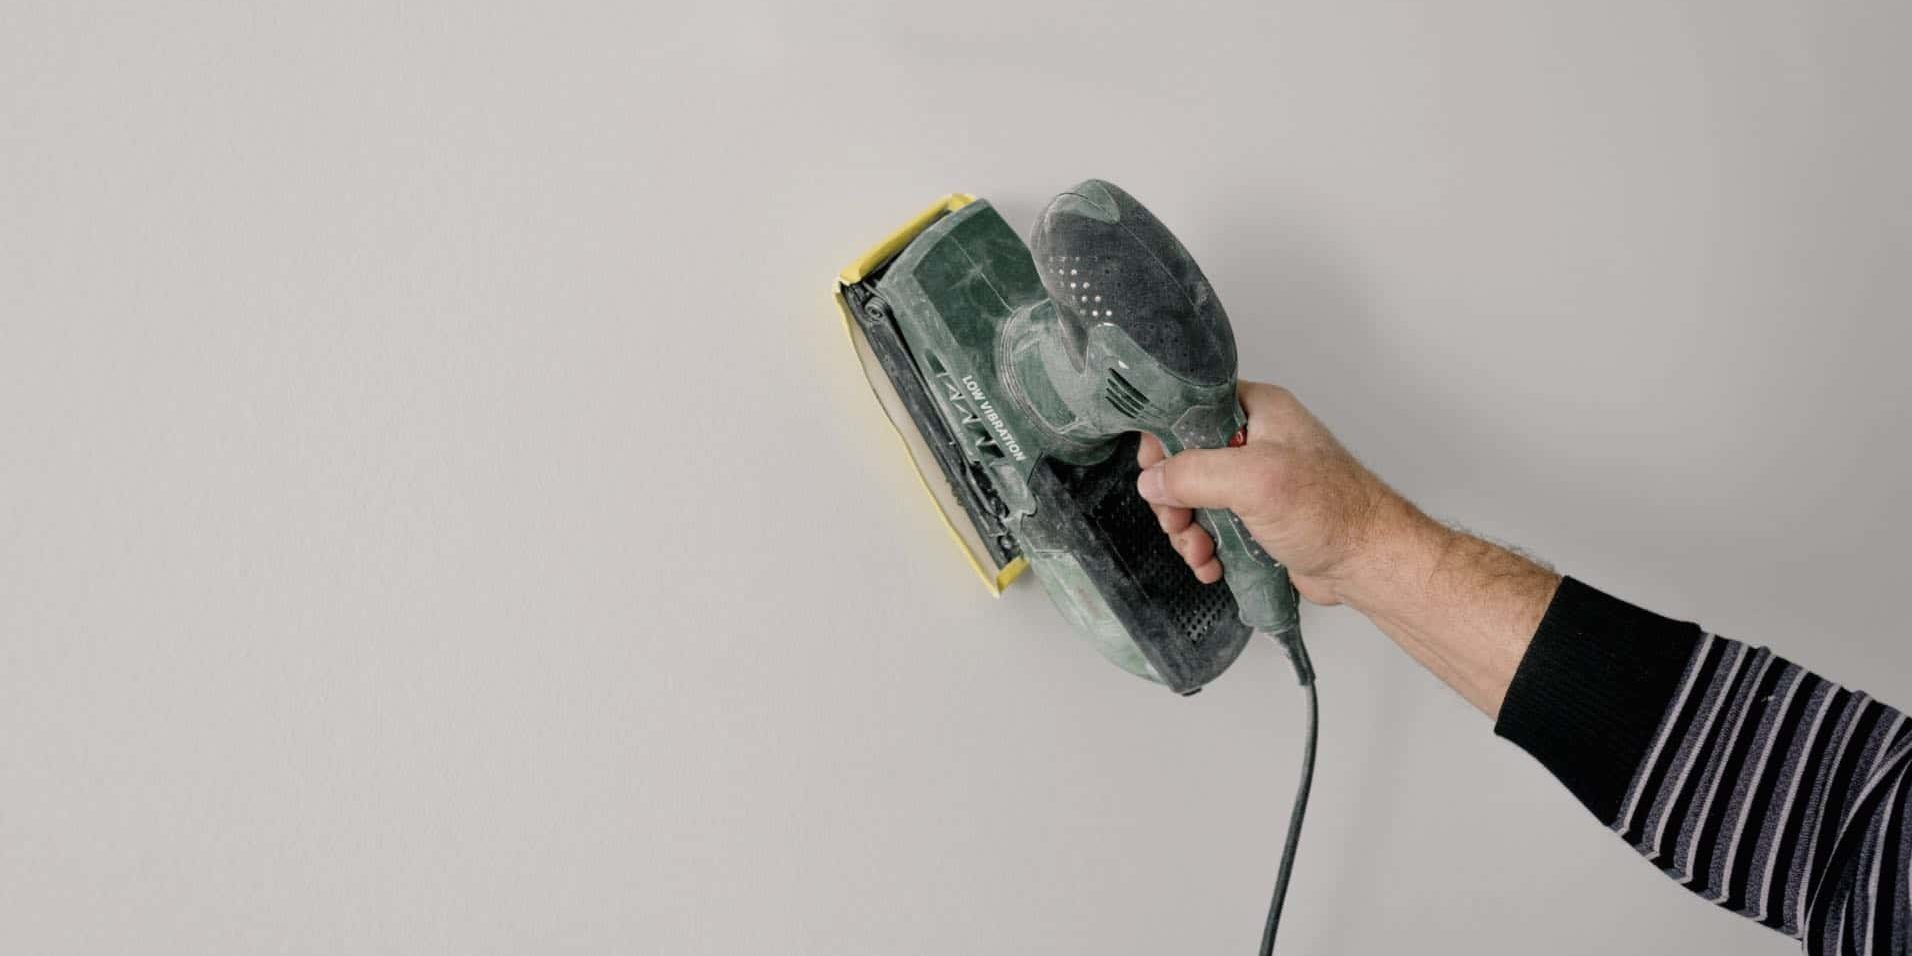
Repello or repellar is the term we commonly use for the process by which apply coating to a wall to thus protect it from the elements and give it a different visual touch.
For this purpose, a mixture made of lime or cement and that is applied to walls made of brick, stone, adobe, or earth. Its main function is to absorb the damage of the winds or absorb the water so that it evaporates and prevents penetration into the interior, thus protecting against moisture.
Plaster or coat a wall It is not an overly complicated task, but it does require taking the correct steps at all times.
That is why in this article we will try to explain the correct steps on how plaster a wall and, furthermore, we will offer some tips to do it in the most optimal way in the shortest possible time.
How do you plaster a wall?
The time has come to stop talking and deliver the key steps when plastering a wall. It is important to follow each of them and dedicate the necessary time to their completion, because the following ones depend on them.
1st Step: Prepare the wall for the coating
In the event that the wall has already been rendered previously and is in a state of deterioration, one should proceed to the removal of the previous plaster, as much as possible. After that, it would be necessary to use plenty of water on the wall, for which we should use a hose. For walls made of more porous materials, the amount of water should be even greater.
Step 2: Make the stucco mixture
As we mentioned at the beginning, the stucco is a mortar. To make the mixture, we have to use hydrated cement or putty, using 1 part cement for every 3 parts sand (use sand with angular and sharp grains; masonry sand is usually perfect). Water must be added to this mixture to form a hard and malleable paste.
In the web You will be able to find bags of very varied mixture coatings that can help you with the task of rendering a wall.
3rd Step: Apply the mixture to the wall
When we have our mixture we will have to go applying it as a first coat to the wall. We talk about layers because the coating will be even more effective if we apply multiple layers. The rendering must be applied forcefully to ensure that it adheres well to the wall. To throw the mixture onto the wall you can use both the hand and a palette that it also helps you distribute the coating well all over the wall. This is an important step because you must be very careful not to always spray the same area, as this has consequences for the final result.
4th Step: Score the first layer
The first layer is also known as the striped layer, and in order for the second layer to adhere well, we will have to make stripes across the entire surface when it is not yet completely dry. For this task, you can use a rake or the very edge of the palette.
5th Step: Apply the mixture again
When the scratched coat is finished and almost completely dry, wet the wall again using the hose before apply the segunda capa. Para esta tarea, vamos a seguir los pasos que en la capa anterior, teniendo muy en cuenta lo de no lanzar la mezcla repetidamente al mismo lugar. Si con esta capa ya tienes suficiente solo te quedará esperar a que el recubrimiento seque por completo. Pero, si quieres darle una nueva capa, tendrás que volver a repetir la operación de rayado.
¿Cómo repellar una pared rápidamente?
Finalmente, os vamos a dejar una serie de consejos para repellar una pared rápidamente y para que el acabado sea justo el que necesitas.
- Deja que la pared seque bien el primer repellado antes de aplicar la segunda, para lo que al menos deberá esperar 2 horas para que la mezcla se adhiera bien a la pared inicial y comience a secarse.
- Al llegar a la última capa, déjala que seque durante 30 minutos y luego alisalo de nuevo. Usa un fratás o borde plano para nivelar esta capa, un paso que se conoce como fratasado y que ayuda a la hora de alisar y rellenar cualquier surco que podrías haber dejado durante el repellado.
- Si quieres conseguir un acabado liso, pasa una esponja húmeda, con cuidado de no dejar arañazos en la pared.
- Se recomienda dejar secar la pared durante 24 horas antes de volver a humedecerla con agua a temperatura ambiente. Darle humedad al repellado va a conseguir que no se agriete ni reseque. Al menos deberías repetir este proceso durante cinco días para que el recubrimiento cure totalmente.
Ahora que ya sabes cómo repellar una pared con estos 5 sencillos pasos, te animamos a que inicies este proyecto de la mano de Cemix.
0 Comments